The utility
This tool provides you with a possibility to make a copy of an existing Content Studio web site and install it to a new location using the regular Content Studio installation program. During the copy process you will have the possibility to specify what site data that will be included in the copy. The new Site copy utility has been totally reworked to be easier to use and to include more options as well.
The utility consists of the following files and when distributed with Content Studio it installs into the Tools subfolder of the Content Studio install folder (normally this is %ProgramFiles%\Teknikhuset\ContentStudio5).
- ContentStudio.SiteExport.exe
- The main executable file.
- ContentStudio.SiteExport.config
- Basic configuration data
- ContentStudio.SiteExport.Engine.dll
- The site export API.
- CSDatPacker.dll
- File packing library
Availability
The new Site copy utility replaces the older version of the utility that has been around since Content Studio 4.x. It will be available as a part of all releases of Content Studio after Content Studio version 5.4.
Running the utility
Before you start the tool you should ensure that you know the name and location of the web site database that represents the web site to copy. You can find this information in the Content Studio administrative interface in the Help/About Content Studio menu option. Also the utility will ask you for a location where it will save the site copy package files. Even though you will be able to create this folder directly from the tool it can be a good idea to prepare a location in advance for your convenience.
Welcoming
When running the utility, the first screen to show up is a welcoming screen.
Select database

The first step asks the user for the Content Studio web site database. The small browse button to the left of the text box opens up a dialog that lets the user select the database to export.
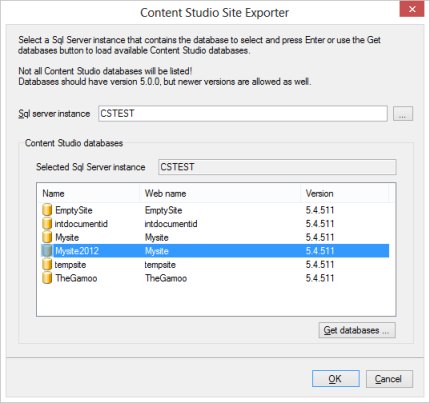
Start by filling out the name of the Sql Server and press enter or use the "Get databases" button to load all Content Studio databases that are available for export. Then select your site database and press the OK button to confirm your selection.
Select where to save the package
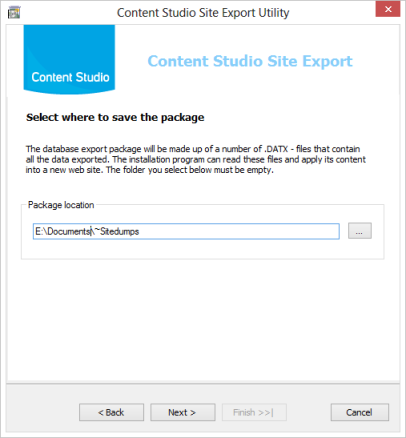
During this step the user supplies an empty directory where the package should be saved. This directory must be empty and fully accessible to the user.
Select the objects to export
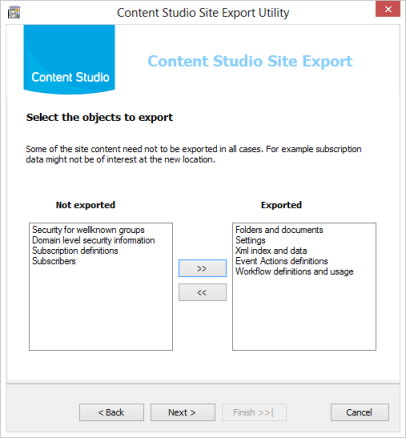
In this step the users selects which web site objects to export. Some objects are required while others are optional
- Folders and documents
- Required: all the units, categories and documents in the website.
- Settings
- Required: all the transferrable settings for the website.
- Xml index and data
- Required: all indexed data for EPT-documents.
- Event actions definitions
- Optional: all event actions definitions on the web site. These will be disabled on the destination site.
- Workflow definitions and usage
- Optional: workflow information on the site.
- Subscription definitions
- Optional: all subscription definitions and settings.
- Subscribers
- Optional: all subscriber adresses. Only in combination with Subscription definitions.
- Security for wellknown groups
- Optional: Security entries for wellknown security groups and aliases. This type of security information is valid between any installation. Example: the Builtin Administrators and User groups.
- Domain level security information.
- Optional: Security entries for users and groups that belongs to the same as the user running the utility. NOTE: If the user is logged in locally, entries for local users and groups will be exported. These are valid only locally on the same computer. To use this option the user should be logged in on the same domain that the destination web site.
Advanced options
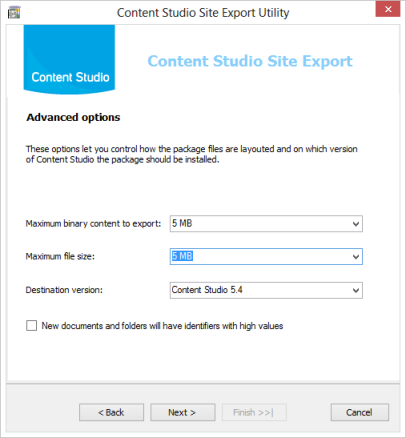
The advanced option step lets the user select the maximum binary
content to export. When a document with content larger than the configured
value is reached the document will be exported but its content will be empty.
Maximum file size indicates the maximum size of the generated dump file. There
is a maximum of 999 individual files in the package, thus if the site is very
big it can be a good idea to have a high value. However smaller files can
improve performance.
Destination version indicates which version of Content Studio that the package
should be installed on.
New documents and folders will have identifiers with high values:
This is an option used when developers want to copy a site and install it on the customer's
web site and have the need to control the range of automatically assigned identifiers of documents
and other objects created by the customer.
The option forces the automatic generation of identifiers to start with high values.
Normally this option should not be selected.
WARNING!
The High identifiers option should not be used when the site being exported itself has
high identifier values or already have identifiers that conflict with the values
in the table below.
| Type | High value |
|---|---|
| Units | 100 |
| Categories | 10000 |
| Documents | 100000 |
| Xml index tags | 100000 |
| Security descriptors | 100000 |
| Workflow definitions | 10000 |
Summary
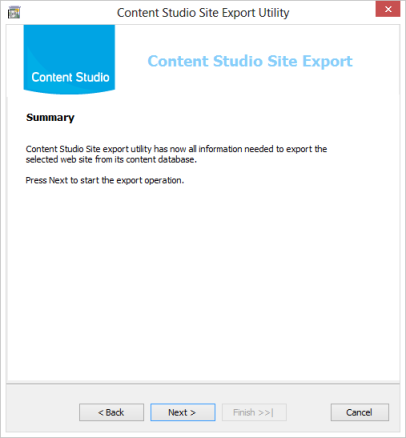
When all information has been collected a summary screen is shown before the actual exported process begins.
The web site is being exported
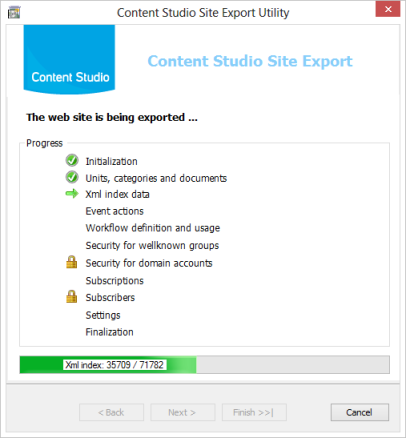
During the export process the user can see an overview of the progress where icons indicates which items have been completed and which item currently is in progress. The padlock indicates that the item i question is omitted.
Finished
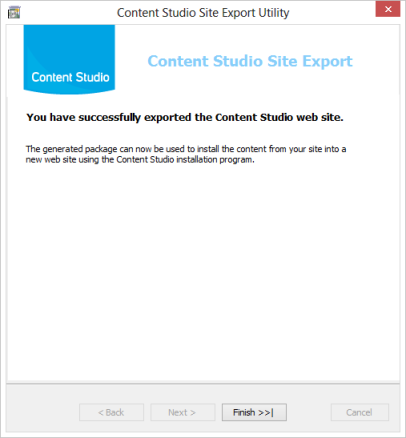
When the export process has been completed and the export package has been created the last screen show up. The export process is now completed and the package can be used a source for the new web site.